So, after a short break on the blog – it’s not that I didn’t bake, it’s just that it was such a huge flop I felt ashamed to talk about it – I picked another project for yesterday. I collected two recipes from one of the blogs I mentioned last time (sweetopia.net) and decided to try them. Now, this woman, Marian, does fantastic work with decorating cookies. I’m so jealous... but it also gives me incentive to try. I love the recipe I used before, the sablé recipe (a French recipe), but I wanted to try sugar cookies. Marian had two recipes, one with white sugar and one with brown sugar. So I tried both... :-)

OK, lessons learned from this:
- It’s a two-person job!!!! Thank goodness, my friend Mary was there and she didn’t hesitate to jump in. We had lots of great laughs... but it was tough work, whether mixing the ingredients or rolling the dough.
- This is time-consuming. I mean, counting rest time in the fridge, it took me close to 9 hours and I still have some dough in the fridge. Hmmm, it might not have been the smartest thing to do to do both recipes at once...
- Cream the butter by itself before anything else, much much easier to mix.
- Lots of these recipes are made for people who can afford these stand mixers with paddle attachment and others. Mine has two beaters, it doesn’t work as well. I noticed that when directions say to mix the butter and sugar until thoroughly mixed, a minute or so... Yeah it took much longer for me and then the butter gets all caked up into the beaters... and I’m stressing because the recipe says not to overbeat... HELP!!!
- The dough warms up VERY quickly and as soon as it warms up a little, it becomes almost unmanageable. I ended up rolling the dough, putting it in the fridge, using the cookie cutters on the dough, putting it in the fridge, separating the cookies and putting them on a cookie sheet, then fridge, then bake them. Oh, you might want to rearrange your fridge BEFORE starting the whole thing, tough to find room for all those cookie sheets otherwise...
- I did buy pieces of wood to ensure a more regular thickness in my dough... Of course, they work only if you use them... So my cookies have different thicknesses which matters when you bake them (baking time varies).
- The taste is good. It is less sweet than these packets you buy in grocery stores. The first taste I got, there was a weird aftertaste on the top of my mouth, in the back. My daughter had the same thing. However, that aftertaste was not there later on at night, so I’ll say it was due to what we had for dinner.
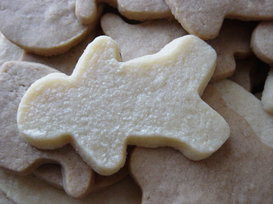
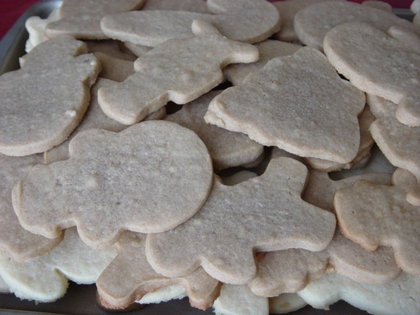
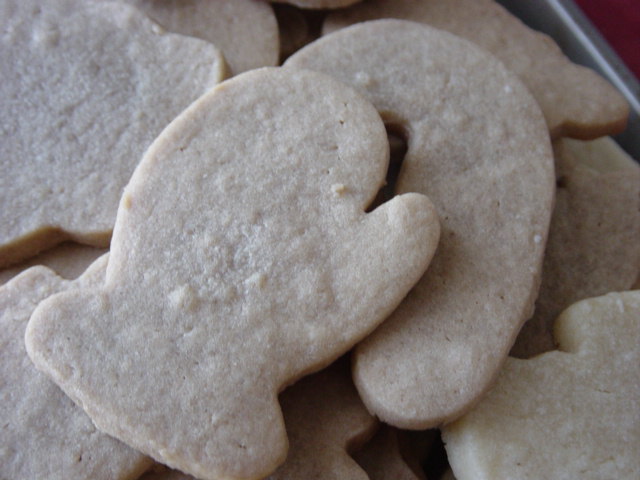
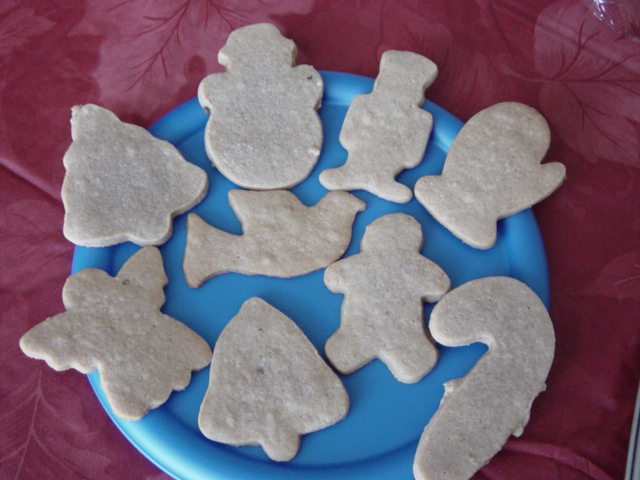
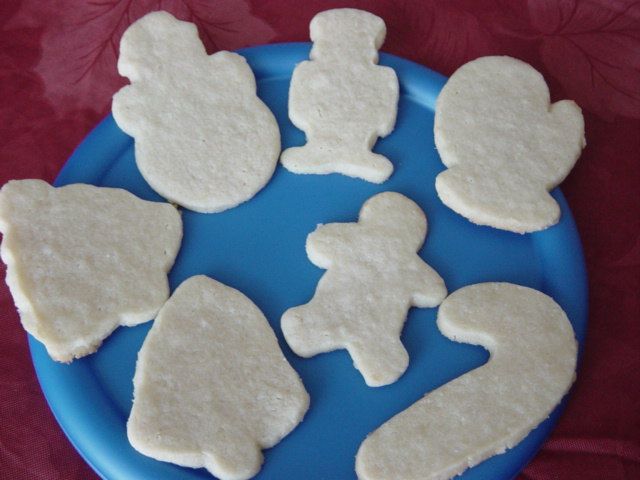
Quite a few lessons... Next step, icing... But in the meantime, here are some pictures and links to the recipes.
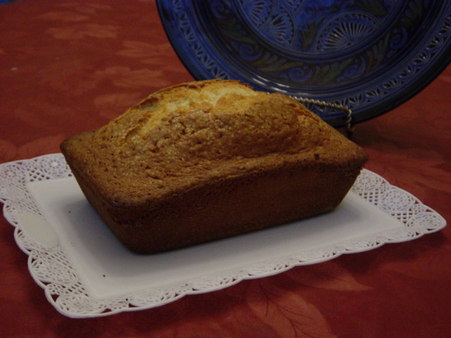
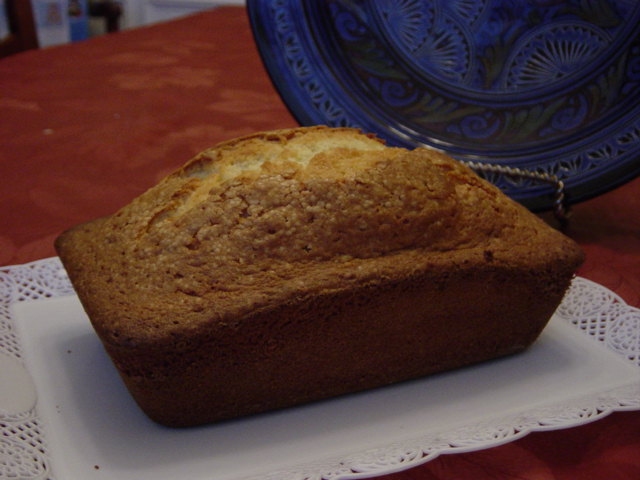
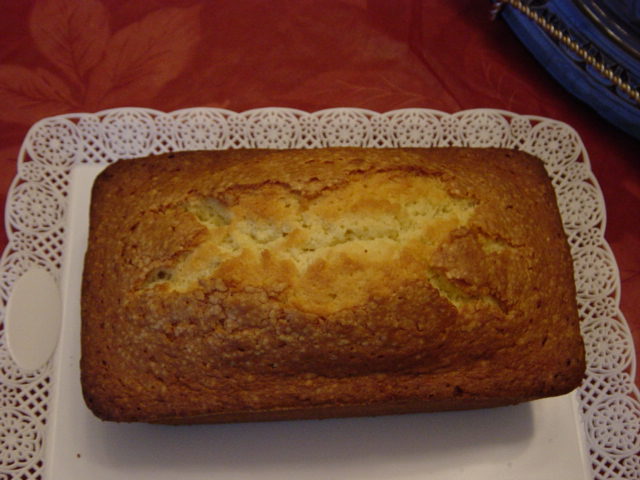
Sugar cookies
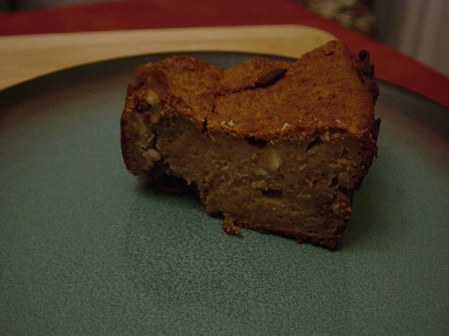
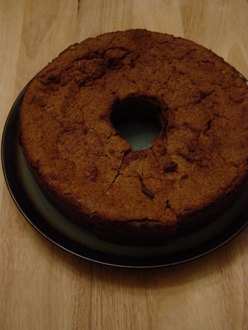
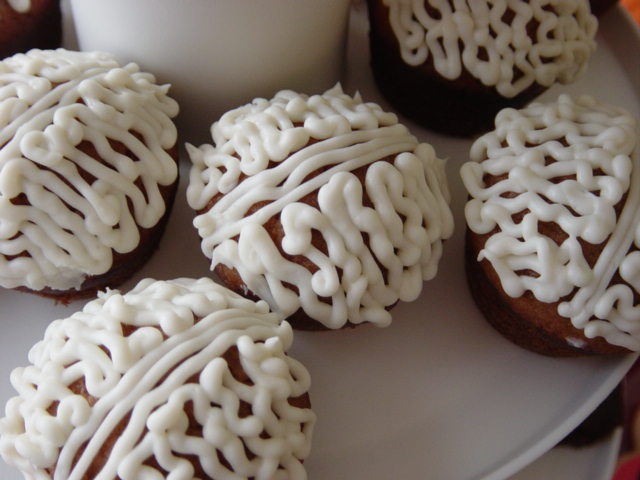
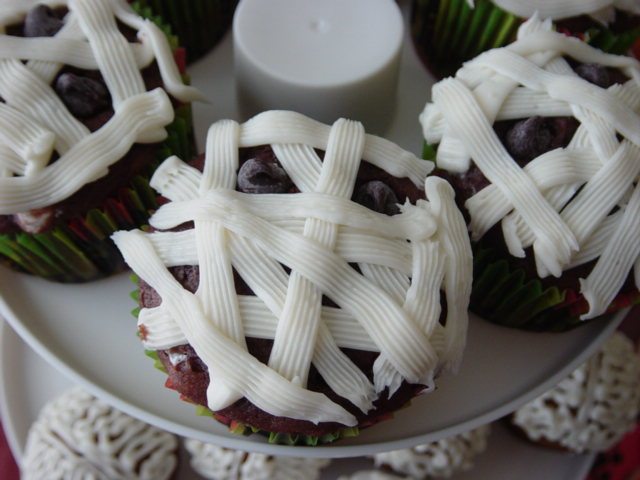
Brown Sugar cookies
Sugar cookies
Brown Sugar cookies


 RSS Feed