Baking Experiences
  • Home
  • Gallery
  • Contact me

Madeleines

3/23/2014

1 Comment

 
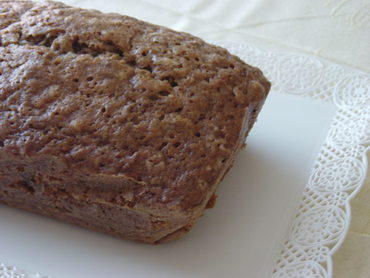
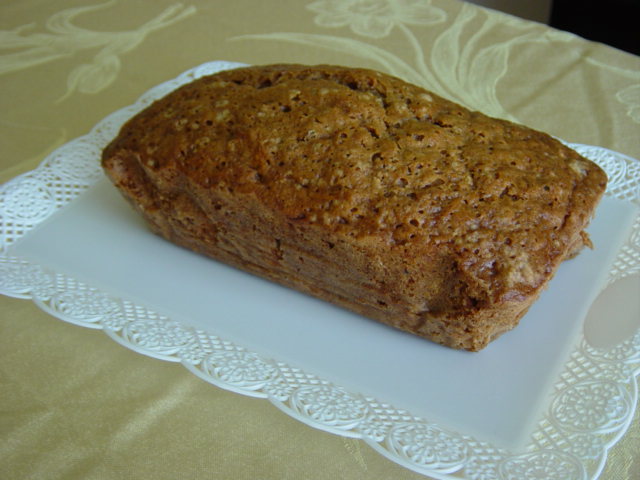
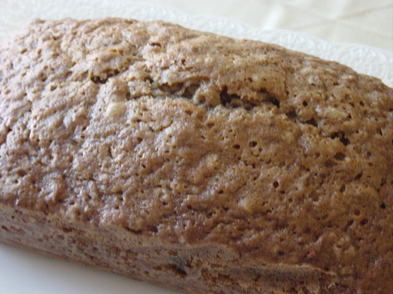
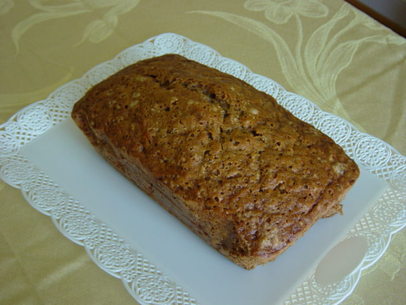
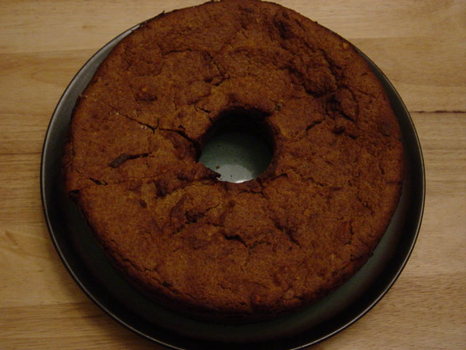
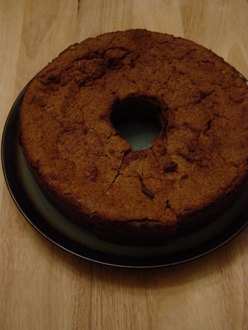
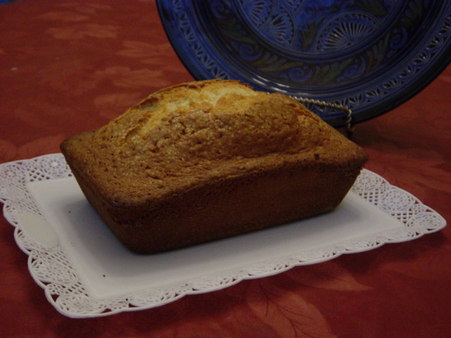
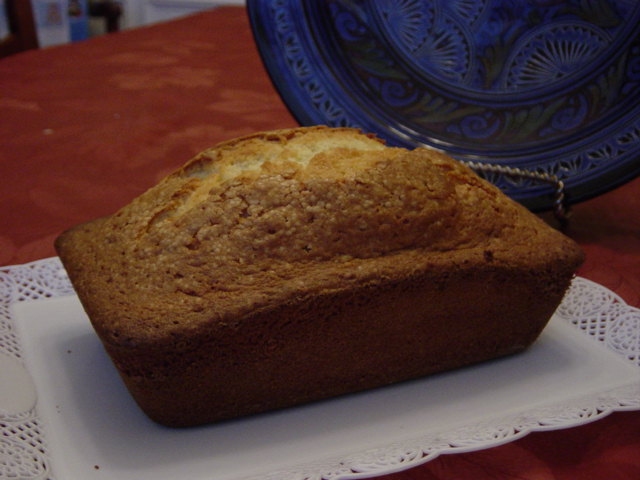
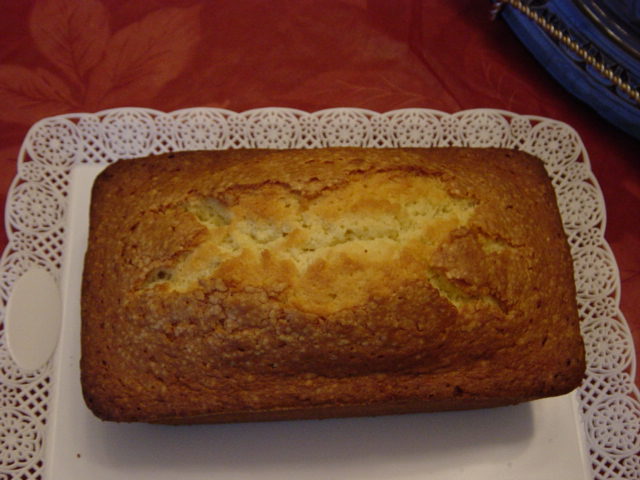
Wow, time flies! I didn't get to bake last weekend but I did do a few things this weekend. I have been wanting to do a recipe that I collected when I was in high school. We had one of those semester electives where we baked and cooked.
Picture
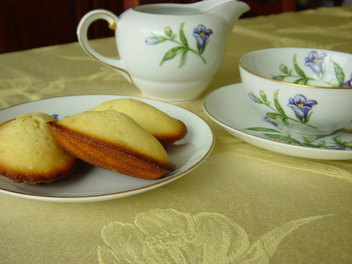
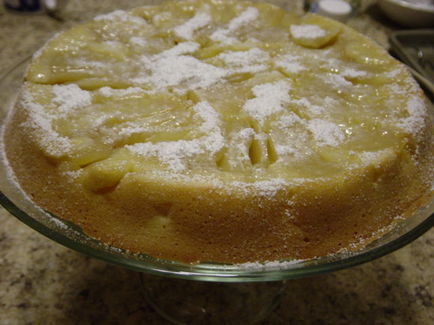
Madeleines were made famous by Proust who would remember his childhood when smelling madeleines.
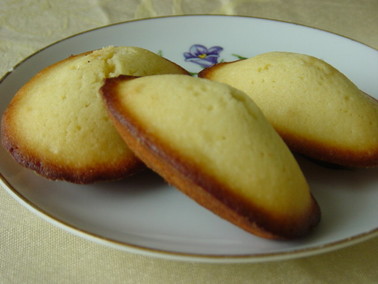
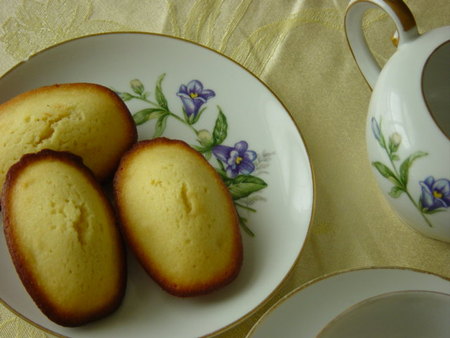
Madeleines are recognizable by their ridges on one side and that little bump on the other side. My "bumps" were pretty mild compared to some pictures I've seen. I've read that a way to do this is to actually keep the batter in the fridge for a couple of hours, if not all night. Definitely something to try next time.

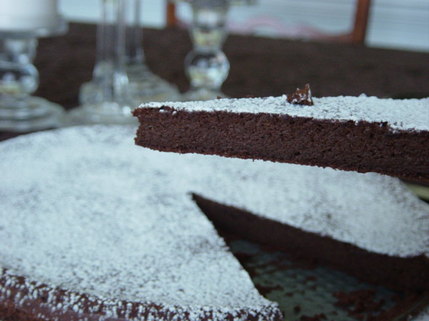
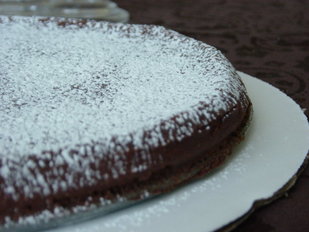
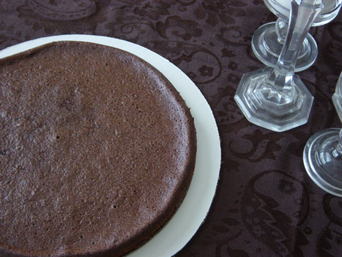
There are many recipes for madeleines and the textures vary. They are delicious with a good cup of coffee, tea or hot chocolate.
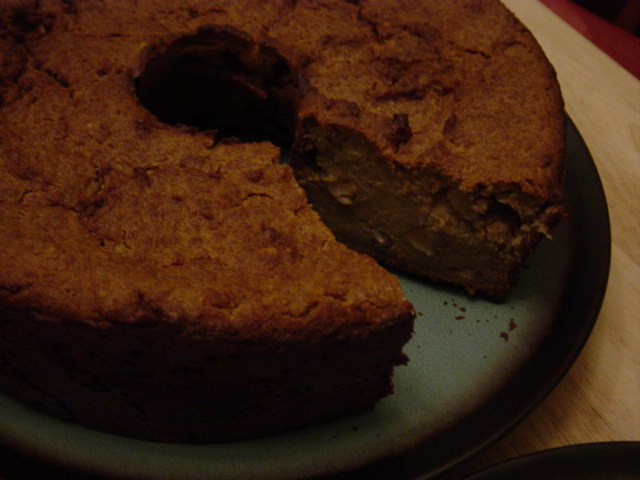
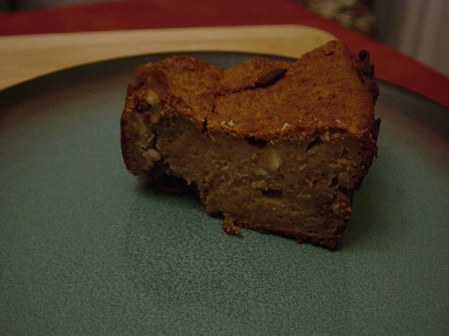
This recipe gives a very cake-like madeleine, reminiscent of the quatre-quart cake. Some people might find it too heavy, although the size should help with that.
Picture
Ingredients:
  • 300g flour
  • 300g sugar
  • 250g butter
  • 4 eggs
  • 1 pinch of salt

Preparation:
  1. Preheat the oven at 435 degrees.
  2. Melt the butter.
  3. Beat the eggs until you get a whitened mix.
  4. Add the sugar and keep beating.
  5. Add the cold melted butter.
  6. Add the sifted flour.
  7. Mix.
  8. Butter and flour the molds. Put one table spoon of better in each mold.
  9. Bake for 10 minutes.
Picture
1 Comment

Zucchini bread

3/9/2014

0 Comments

 
Picture
My daughter has been begging me to make a zucchini bread I made several years ago. It's amazing what stuck in children's minds. They can't remember what you asked them to do 10 minutes ago but can remember a cake from 3 years ago.
So anyway, I went searching through my recipes and found it. So, here it is...

Ingredients:
  • 3 cups all-purpose flour
  • 1 tsp salt
  • 1 tsp baking soda
  • 1 tsp baking powder
  • 3 tsp cinnamon
  • 3 eggs
  • 1 cup vegetable oil
  • 1 1/4 cups white sugar
  • 3 tsp vanilla extract
  • 2 cups grated zucchini
  • 1 cup chopped walnuts
Picture
Directions
  1. Grease and flour two 8 x 4 inch pans. Preheat oven to 325 degrees F (165 degrees C).
  2. Sift flour, salt, baking powder, soda, and cinnamon together in a bowl.
  3. Beat eggs, oil, vanilla, and sugar together in a large bowl. Add sifted ingredients to the creamed mixture, and beat well. Stir in zucchini and nuts until well combined. Pour batter into prepared pans.
  4. Bake for 40 to 60 minutes, or until tester inserted in the center comes out clean. Cool in pan on rack for 20 minutes. Remove bread from pan, and completely cool.
Picture
Notes:
  • I reduced the amount of sugar by 1 cup. I remember last time that it was quite sweet. This is a bit better.
  • I have read in the past that one can use apple sauce to replace the oil and I think that is something I plan on doing next time.
  • The cooking time was off. One of the cakes was done after 65-70 minutes, the other one took an additional 15 minutes. I don't know if it is due to the pan's material (the glass one took longer).
Picture
Results:
One word - YUMMY!!!!
It helped to reduce the sugar. I'd probably reduce the cinnamon a bit too. But the cake is nice and moist. You can taste the zucchini without TASTING the zucchini if you know what I mean...
0 Comments

Mardi Gras King Cake

2/13/2014

7 Comments

 
Picture
This is a recipe I have been wanting to try forever! I lived in Louisiana for a few years and just loved this tradition, how people eat this cake all Mardi Gras season. It was a neat way to end the day on Fridays at the office. People in Louisiana are always very convivial and I've learnt so much about the various traditions (besides what people see on TV) of the Carnival season in Louisiana. So this is a salute to those whose friendship made these years fantastic!

The recipe I found was this one. I don't remember when I found it but apparently it comes from the February 2006 edition of Southern Living. Well, I can tell you I am incredibly happy with the end result, so this recipe goes into the family recipe book!
Picture
A couple of notes from this recipe, fortunately, nothing major ;-)
  • The recipe mentions that it yields 2 cakes of about 18 servings each. I'd say closer to 12-13.
  • Baking is 14-16 minutes, I baked 20 minutes because there was no color on top.
  • Prep time: 30 minutes -- it's a joke!
  • You are told to use a heavy-duty electric stand mixer. I don't have one (yet!!! It's on my wishlist), so I used my hand-held mixer. Let's just say the poor thing couldn't handle mixing the dough. I got that "something's burning" smell. I ended up doing it by hand (actually with both hands). Good work out!
  • Spreading the dough to a rectangle of 12 by 22 is hard. I'd say try 10 inches by 20. If you want everything to look neat, trim the rectangle to make it all even.
  • When spreading the filling (I did the cinnamon sugar filling), know which way you will start rolling the dough and don't put filling on the edge you will end the roll with. The bottom of the cakes were a bit hard. I think sugar escaped and caramelized, making for a hard shell.
  • You might want to do a better job than I did in sealing the edges together.
  • The icing is powdered sugar, with a little lemon juice and water. The first icing I did was a little too runny, so I made the other one thicker.
  • I used colored crystal sugar but my green was way too pale :-( Look for the Irish green sugar...
Picture

The result

A cake that is closer to a brioche than a typical cake. It is actually very close to a cinnamon bun. Delicious with coffee or hot chocolate.
Picture
I am very happy with the result! And proud of myself too! :-D
7 Comments

Chocolate-orange fondant

1/19/2014

0 Comments

 
Picture
This week's experiment was a last minute decision. A friend of mine mentioned making this cake for her husband this week and it sounded so good, I just had to try it.

It was quick and easy to make and, fortunately, I had all the ingredients at home.
.. well, almost, I didn't have 200g of 70% cocoa chocolate. I had one 60% bar (113g) and also used semi-sweet baking chocolate.

The result: first, you gotta love dark chocolate. The taste is powerful and, if you don't like dark chocolate, well, you won't like this. You can really feel it on the back of your tongue. The orange taste was also pretty strong (although my daughter says she couldn't taste it) but a good complement to the dark chocolate.

I do not like when recipes are not precise. In this case, the size of the pan was vague ("a large pan"). How big is a large pan? And is a large pan in France the equivalent of a small or medium pan in the US (you know, like fast-food portions)? So, I used a 10" pan...
Now, I knew from the comments on the recipe not to expect a high cake. However, this was really thin, as in between 1/2" and 3/4" thick. I understand that this was not a regular cake, there is no flour, but was the thickness due to the large pan or really all I could expect? If I used a smaller pan, would it make the cake higher or just prevent it from cooking thoroughly in the allocated time.
Picture
The texture of the cake was fantastic. It is very much like a mousse, light and fluffy. But, careful, the richness of the cake makes me wonder if having a thicker cake would really be a good idea or just become too overwhelming. I would suggest serving this maybe with a scoop of French vanilla ice cream, or at least whip cream.
Picture
Original recipe here.
Ingredients:
  • 200g dark chocolate (70%)
  • 1 orange (pick organic, since using the zest).
  • 5 eggs, separated
  • 50g butter
  • 10g cornstarch
  • 30g powdered sugar
  • 2 pinches of cinnamon

Preparation:
  1. Wash the orange thoroughly, zest it with a grater, squeeze the juice and keep everything aside.
  2. Break the chocolate in small pieces and melt it in a double-boiler (bain-marie).
  3. Melt the butter in the orange juice.
  4. In a large bowl, mix the sugar, cinnamon and cornstarch. Then add the egg yolks one at a time.
  5. Add the orange zest, then the chocolate, then the melted butter/orange juice.
  6. Beat the whites with a pinch of salt. Incorporate them little by little into the chocolate batter.
  7. Pour the batter in a buttered/floured large pan (see note above).
  8. Bake it for 20-25 minutes at 350 degrees.
  9. Let it cool before removing it from the pan.
  10. Decorate using powdered sugar, candied orange peels, grated chocolate...
Picture
Notes:
  • The surface of the cake was beautiful! I went for the quick and easy powdered sugar to decorate, but really, it was a shame to hide the beautiful surface.
  • I've mentioned the taste was very strong and not very sweet at all. If you prefer sweeter, try and modify the recipe to add more sugar OR


  • Try the recipe with milk chocolate (omit the orange zest and replace the orange juice with milk and cocoa powder). I don't know what the result would be but since there is more sugar in milk chocolate...

Let me know what you think... Does it look appetizing? Would you want to try it? Have you made something similar? Have you experimented with different pan sizes? What were the results?
0 Comments

Traditional Yule Log cake

12/28/2013

1 Comment

 
PictureBûche de Noël
'tis the season and with it, its delicious indulgences. One cannot help but look forward to this time of year and its traditions, especially the culinary ones, from bread, to cakes, pies or cookies.

Now, I'm not one of those who go crazy baking cookies... my last post about it was my latest attempt.
I like them, don't get me wrong, but I'm not into making dozens after dozens and giving them away to everyone and all that... Instead, I have my favorites, memories of my childhood, that I am now sharing with my daughter. She now looks forward to these traditions, even though she's not yet interested in learning how to make them.

The Yule Log cake is a French/Belgian tradition. It is a cake shaped like a log, to refer to the tradition of burning a huge log for the 12 days of the Christmas season (then called Yule). This was supposed to bring good luck for the year. A mix of pre-Christian and Christian traditions here, as is often the case.
Picture
If you go to a pastry shop in France or in Belgium, just before Christmas, you will have so many choices in yule log cakes, going from extremely traditional to avant-garde modern, to ice-cream cakes. Needless to say, it might be a traditional cake, but you will rarely experience twice the same one.
Picture
So, a few years ago, I started making my own yule log cake, which is a rolled cake with a filling and frosting made to look like a log. I've never made twice the same cake so far and some have been better than others, but they've all come out pretty good. This year's cake was particularly successful!

My daughter chose the flavors: chocolate and mint! So, off I went to the great internet to find recipes. I found a recipe for a mint and chocolate cake but didn't like the filling cream, so I just used their cake and syrup recipes. I made up my own recipe for the filling and the frosting (nothing fancy or too precise either).

Read More
1 Comment

Cookie Cake

12/15/2013

0 Comments

 
An easy project this week, a cookie cake. Special request from my daughter for her birthday celebration. I use an old recipe, meaning a recipe someone gave me years ago. From the photocopy, it comes from one of those wrappers around a piece of Wilton bakeware, you know, the ones that have recipes on the back. I have no idea where it came from other than that.
Picture
Ingredients:
  • 1/2 cup butter
  • 1/2 cup granulated sugar
  • 1/4 cup packed brown sugar
  • 1 egg
  • 3/4 tsp vanilla
  • 1 1/2 cups all-purpose flour
  • 1/4 tsp baking soda
  • 1/4 tsp salt
  • 1/2 cup semi-sweet chocolate chips

Preparation
:
  1. Preheat oven to 350 degrees. Spray pan with vegetable pan spray.
  2. In large bowl, cream butter with sugars.
  3. Add egg and vanilla and mix well.
  4. Stir in flour, baking soda and salt, mix well.
  5. Stir in chocolate chips.
  6. Spread dough into  prepared pan with spatula.
  7. Bake 15-20 minutes or until light golden brown.
  8. Cool on rack 5 minutes.
  9. Remove from pan. Cool before cutting and decorating.
  10. Makes 8-10 servings.

Picture
Additional notes:
  • I used royal icing to write on the cake. I had purchased tools to work with melted chocolate but used one of the small bottles for the icing. It actually was more comfortable to write with than a pastry bag.
  • The cookie cake's surface is of course very irregular, so do not expect miracles for the writing.
  • The shape of the cake is also irregular as I used a pretty big pan (a pizza pan) and the dough was a good 1.5 to 2 inches from the edges. The cookie did not expand much and reach the edges. Thus the irregular shape.
  • I baked it for 20 minutes. Next time, I'll probably lower the time to 17 minutes. Good color and good taste, not dry, but I wished for a bit more chewiness.
0 Comments

Maple Bread Pudding

11/11/2013

1 Comment

 
Picture
Once again, I had lots of leftover breads and cookies that had gone stale, so I decided to go ahead and make a bread pudding but I was not too happy with the one I had made last time, especially with the amount of liquid in it. So I looked around the internet and, although I didn’t find a recipe I wanted to use as is, I did find some ideas to try to create my own.
So, was I ready to throw myself into recipe creation? Well, even though the result is good, I’m not sure I’m ready for this kind of creativity yet. Although, as they say, “never say never”.

So, the result of this experiment was a bread pudding with a definite bread pudding texture. I really liked the texture. It makes it hard to evaluate the doneness of the cake, but it is smooth and nice in the mouth. I was not a fan of the crust, but it grows on you. I think what surprised me the most was the taste. As much as I love real maple syrup on my French toast, crepes or pancakes, I had never tasted a maple-flavored cake. So it took me a few bites to truly enjoy it. You really get that nutty smell and flavor. However, something was missing. We (my husband, a friend and I) finally came up with some ideas that would enhance the taste. I put these into the recipe below.

OH, and do not use a mold for angel food cakes for this. Bread pudding is a heavy cake, which makes it very hard, if not impossible, to remove from the mold without breaking the cake. I’m speaking from experience. Maybe a bundt cake mold would be better (I really need to get one) if you want a fancy shape, but a basic round cake mold is good. Anything that allows you to unmold by turning it over on cooling racks.
Picture
Picture
Ingredients:
  • 3 cups milk
  • 5 cups of bread crumbs
  • 100g butter
  • 1 cup dark brown sugar
  • 4 eggs
  • ¾ cup walnuts or dried cranberries
  • 70ml maple syrup

Preparation:
  1. Soak the bread in the milk for about 10 minutes.
  2. On medium heat, add the butter, sugar, maple syrup and walnuts to the bread.
  3. Stir until well blended.
  4. Off the heat, add the egg yolks, one at a time.
  5. Beat the egg whites with a pinch of salt to soft peaks.
  6. Fold the egg whites into the mixture.
  7. Bake at 400º for one hour.
  8. Let it cool. Serve with crème anglaise.
Picture
1 Comment

Quatre-Quart

11/9/2013

0 Comments

 
Picture
Have you ever noticed that when you become interested in something, it is all around you? I am now so obsessed with baking, it is sometimes scary. I often fall asleep thinking of recipes and wake up with more ideas. I’m actually pretty good at not purchasing more cookbooks but I do spend a lot of time on the internet looking at recipes and finding blogs I like.

This week, I discovered two new ones I’d like to share with you. One is Sweetopia.net. The woman who writes that blog does a lot of things but what impressed me the most was the beautiful work she does with cookie decorating. Some are so sophisticated! She has several tutorials and I cannot wait to try them out.

Another blog I discovered is called “Les mains dans la farine”, written by a Belgian woman living in the south of France. What I find interesting and can’t wait to try on her blog are some basic recipes. I’ve picked one of her recipes for a baking experience for this weekend (coming soon in another post).

A friend of mine recommended I watch the French TV show “Le meilleur patissier” (M6). It’s the French version (with variations) of the British show that inspired the American show “The American Baking Competition”. I have to say, I’m hooked! I can’t wait for the third episode to be posted online!

The first week’s theme was ”travel cakes”, a term used to refer to cakes that can be kept at room temperature for several days, making them ideal for traveling in times when refrigeration was non-existent. The general shape of such cakes is that of a “bread” as understood in American culture (as in banana bread, pumpkin bread...). The top must be crunchy while the inside must be fluffy and soft.
Picture
So yesterday, I decided to make my own version of the travel cake. Unfortunately, I cannot attest as to its freshness after a few days as, well, it’s already more than halfway gone, so I doubt it will last much longer. I used one of my tried and true recipes but did add some baking powder, just because I used a smaller and taller mold and I was afraid it would be too thick to rise. I also decided to make just the plain cake, not adding any other flavors but it is easy enough to do, as long as one knows you might have to adapt baking time.

The result was delicious! The top is delightfully crunchy while the middle melts in your mouth. Although it contains lots of sugar, the taste is not sickeningly sweet. This tastes delicious with coffee or hot chocolate. The color is a beautiful golden/light brown. This is a recipe that can easily be modified for large quantities.
Picture

Read More
0 Comments

Upside-down Apple Cake

10/29/2013

0 Comments

 
I know, I said I was done with apples but I could not resist this one. I was looking through a notebook I have had since my teen years (and I won’t tell you how long ago that was). Apparently, I have always been fascinated with desserts because I have a full collection of recipes cut from various magazines. At the time, I was not concerned with where I found them, I therefore do not have a source to cite.
Picture
Ingredients:
  • 2-3 big apples
  • 150g flour
  • 4 eggs
  • 90g butter
  • 100g sugar
  • 50g powdered sugar

Preparation:
  1. Butter and flour a 9” cake pan.
  2. Peel the apples, slice them and put them in a circle in the pan. Have the apples overlap each other tightly.
  3. Preheat the oven at 350º.
  4. In a large bowl, beat 2 eggs and 2 yolks with the sugar.
  5. Beat the two remaining whites into firm peaks.
  6. Then add the melted butter, the flour and the two whites to the egg and sugar mixture.
  7. Pour the batter over the apples.
  8. Bake in the oven for 40 minutes.
  9. When done, let the cake cool down slightly before removing it from the pan.
  10. Sprinkle powdered sugar on it just before serving.
Picture
This cake is pretty easy to make, although slightly heavier than the one I made a couple weeks ago. One of my tasters mentioned she could taste the eggs but nobody else did. Maybe she was extremely sensitive to eggs. Let me know if you notice something similar. Anyway, I would not recommend having this cake as dessert after a good meal, it is too heavy. Instead, this is good for afternoon tea, coffee break... you know, indulgent moment.

You could easily replace the apples with pears, I can already taste it and it would be fantastic! If using canned half pears, remembers to put the curved half down onto the bottom so that it shows when turning your cake upside-down.


0 Comments

Apple-Cinnamon Coffee Cake

10/20/2013

0 Comments

 
I'm sure you're getting tired of apple recipes. So am I but I still have apples to use up. However, I promise to try something new next, not apple-related, and keep my other apple trials for later on... PROMISE!!!
For this recipe (found in the "Great American Home Baking" recipe collection), I used an apple that is sweeter than the Wingate but a bit more tart than Golden Delicious. It is an apple that tastes good eaten, baked or in a sauce. The name I had was "Samoa" but I can't find it in the apple directory, unfortunately...
Picture
This cake is light and fluffy and delicious, without being too sweet. The apple taste is subtle and I could probably have put more of them. One thing I noticed was that the apples sank to the bottom of the cake, not the complete bottom, mind you, but enough to not have a clearly-defined layer of cake underneath the layer of apples. Now, the only way I did not follow the directions was that I didn't wait for the apples to be completely cooled and they were probably not drained properly. Would that lead to them sinking? Other than that, the cake rose fantastically. It's always iffy when using fruit as it can make the batter heavier and prevent it from rising. But I am really happy with the results here. A light cake, but still moist.
Picture

Recipe


Read More
0 Comments
<<Previous

    Enter your email address:

    Delivered by FeedBurner

    RSS Feed

    Table of Content

    Articles listed by date (available soon)

    Archives

    October 2014
    March 2014
    February 2014
    January 2014
    December 2013
    November 2013
    October 2013
    September 2013
    August 2013
    July 2013
    June 2013

    Categories

    All
    Almond Cream
    Apples
    Apple Sauce
    Banana
    Basic Cake
    Bread
    Brownies
    Cake
    Cannoli
    Caramel
    Chocolate
    Cinnamon
    Coconut
    Cookies
    Crepes
    Cupcakes
    Filling
    Frosting
    Fruit
    Icing
    Louisiana
    Madeleine
    Mardi Gras
    Meringue
    Mousse
    Muffins
    Orange
    Pastry Cream
    Pie
    Pop
    Pudding
    Puff Pastry
    Puff Pastry
    Savory
    Shortbread
    Specialty Bread
    Strawberry
    Sugar
    Tartlet
    Vanilla Cream
    Waffles
    Whip Cream
    Zucchini

    Author

    My name is Anne-Sophie and I've always enjoyed baking. I've decided to try and spend more time trying new recipes and would like to share the journey. I am particularly (but not exclusively) interested in French/Belgian recipes.


Powered by Create your own unique website with customizable templates.