Baking Experiences
  • Home
  • Gallery
  • Contact me

Maple Bread Pudding

11/11/2013

1 Comment

 
Picture
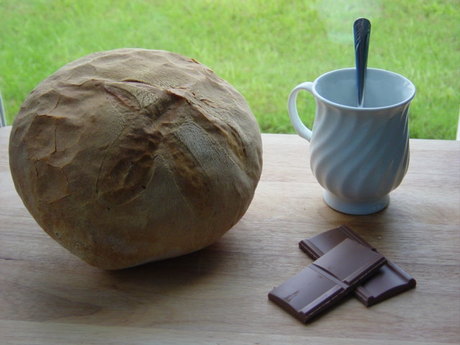
Once again, I had lots of leftover breads and cookies that had gone stale, so I decided to go ahead and make a bread pudding but I was not too happy with the one I had made last time, especially with the amount of liquid in it. So I looked around the internet and, although I didn’t find a recipe I wanted to use as is, I did find some ideas to try to create my own.
So, was I ready to throw myself into recipe creation? Well, even though the result is good, I’m not sure I’m ready for this kind of creativity yet. Although, as they say, “never say never”.

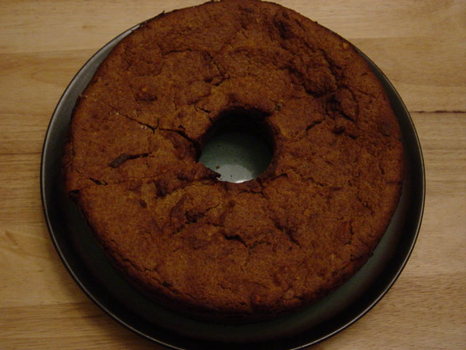
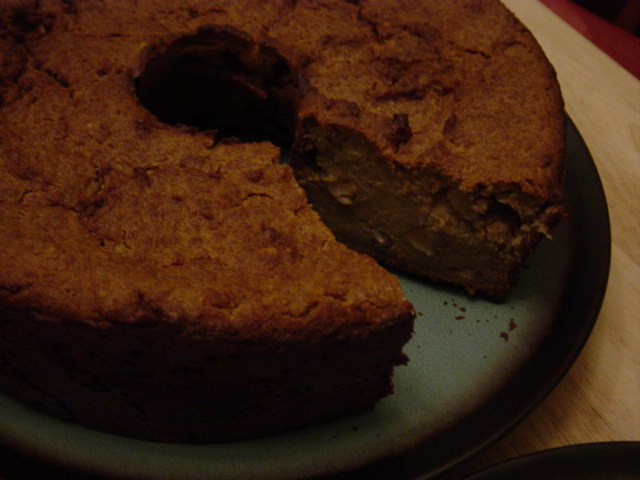
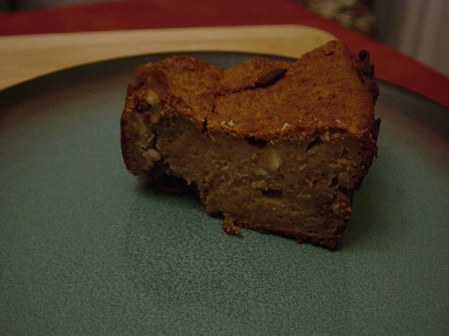
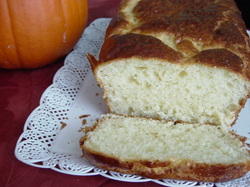
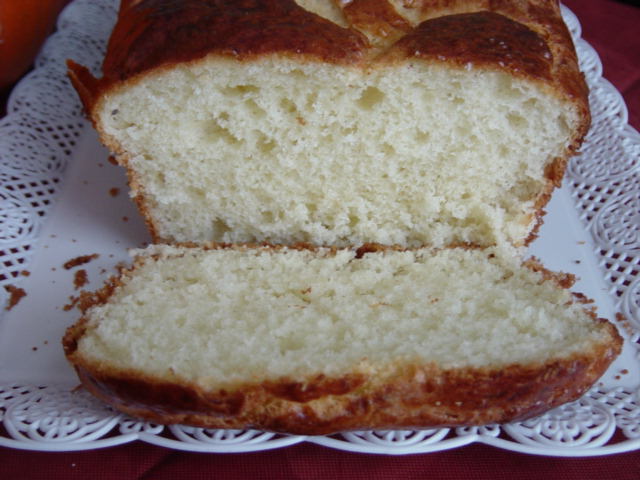
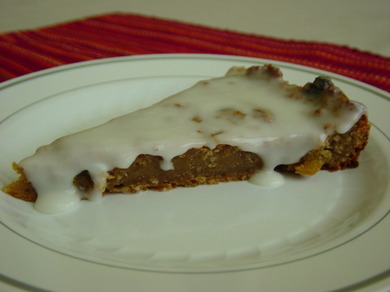
So, the result of this experiment was a bread pudding with a definite bread pudding texture. I really liked the texture. It makes it hard to evaluate the doneness of the cake, but it is smooth and nice in the mouth. I was not a fan of the crust, but it grows on you. I think what surprised me the most was the taste. As much as I love real maple syrup on my French toast, crepes or pancakes, I had never tasted a maple-flavored cake. So it took me a few bites to truly enjoy it. You really get that nutty smell and flavor. However, something was missing. We (my husband, a friend and I) finally came up with some ideas that would enhance the taste. I put these into the recipe below.

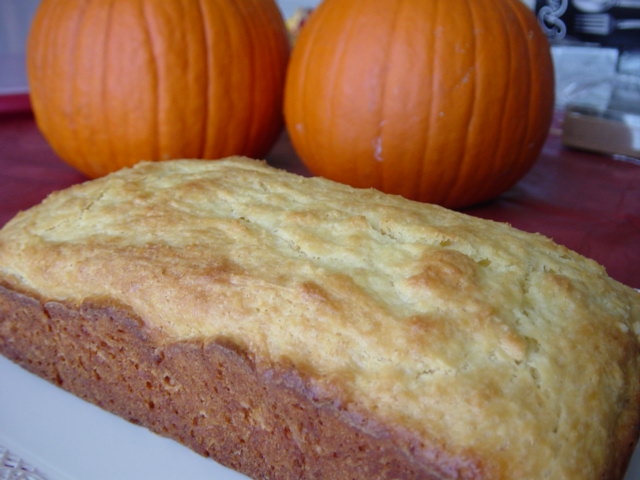
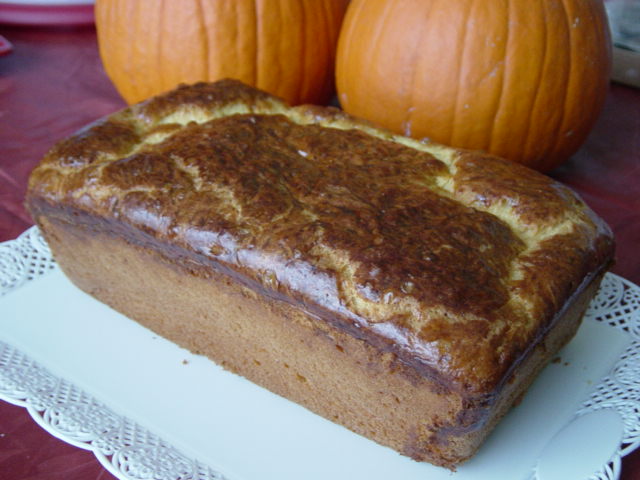
OH, and do not use a mold for angel food cakes for this. Bread pudding is a heavy cake, which makes it very hard, if not impossible, to remove from the mold without breaking the cake. I’m speaking from experience. Maybe a bundt cake mold would be better (I really need to get one) if you want a fancy shape, but a basic round cake mold is good. Anything that allows you to unmold by turning it over on cooling racks.
Picture
Picture
Ingredients:
  • 3 cups milk
  • 5 cups of bread crumbs
  • 100g butter
  • 1 cup dark brown sugar
  • 4 eggs
  • ¾ cup walnuts or dried cranberries
  • 70ml maple syrup

Preparation:
  1. Soak the bread in the milk for about 10 minutes.
  2. On medium heat, add the butter, sugar, maple syrup and walnuts to the bread.
  3. Stir until well blended.
  4. Off the heat, add the egg yolks, one at a time.
  5. Beat the egg whites with a pinch of salt to soft peaks.
  6. Fold the egg whites into the mixture.
  7. Bake at 400º for one hour.
  8. Let it cool. Serve with crème anglaise.
Picture
1 Comment

Brioche

10/22/2013

1 Comment

 
Picture
My challenge this week: to make brioche, you know, that sweet, light and fluffy bread one eats for breakfast. So I looked online for a recipe. Frankly, I should have looked first through my cookbooks because the plethora of recipes out there is overwhelming. But I picked one that said it was easy...


And I followed the recipe word for word, I did not get impatient, I did not skip any step. I was proud of myself. And yet, the result was so disappointing. Mind you, my daughter loved it, she kept eating it, she even took some of it to school today. My husband loved it too, he even compared it to something his mom makes, and he has only the highest compliments for his mom’s cooking.

But I didn’t like it. I didn’t like the taste, the look or the texture of it. The dough looked weird and never rose. The bread itself was dense and looked more like a cake than bread.

Picture
Picture
So I decided to make another one. I looked at other recipes to see if they were doing this differently. I looked through a book I have on breads and one thing struck me. It mentioned that for brioche, you could just mix all ingredients, like the recipe I used mentioned, HOWEVER, the dough then needed to rise for 12 hours!!!!! 12 Hours!!!! The recipe mentioned 2 hours! And I believe that this was the problem.

Thus, I mix the ingredients, same ingredients, in a different way. And I have to say, the result is spectacular. The dough did rise, the bread looks like a bread and tastes fantastic too. Now, remember, I used the same recipe as the day before (except the butter was softened instead of melted). I just changed the way I mixed the ingredients and I got a totally different result.
Picture
Picture
Here is my modified recipe.

Read More
1 Comment

Bread Pudding

9/16/2013

0 Comments

 
So, what do you do when you have stale country bread, the bread you took apart to make troughs, stale coconut macaroons and stale cookies? You make bread pudding... the Belgian way...
Picture
Ingredients:
  • 1 cup raisins
  • 1/4 cup apple juice
  • 5 cups packed bread/cookie crumbs
  • 3/4 cup milk
  • 1 cup dark brown sugar
  • 2 tbsp honey
  • 6 tbsp unsalted butter
  • 1 tsp cinnamon
  • 1 tsp ginger
  • 4 large eggs, separated
  • pinch of salt

Preparation:
  1. In a small bowl, soak the raisins in the apple juice for one hour.
  2. Preheat the oven to 400 degrees. Butter and flour a 10" round pan.
  3. Combine the bread and milk in a large sauce pan and let it sit for 10 minutes.
  4. Add the raisins and the juice, the sugar, honey, butter, cinnamon and ginger. Bring to a boil, stirring constantly with a wooden spoon. The mix will become homogenous and smooth and should be thick.
  5. Off the heat, stir in the yolks, one at a time.
  6. Beat the egg whites with the salt to soft peaks and fold gently in the mixture.
  7. Pour the mixture in the pan and bake 35-40 minutes (until knife comes out clean). Let cool completely.
  8. I added an icing made with lemon juice and powdered sugar. It is quite tart but goes well with the pudding.
RESULT: It tastes quite good. It is not too sweet but balances the icing really well. I wish I had used a smaller pan (I used a 12") for a thicker cake but then it might have been too much.
Picture
Notes:
  • I did not have 5 full cups of bread crumbs, so I "adapted" the quantities (which might or might not have been a good idea)... I mean, the taste was good but I don't know if it's due to luck or if I did well in eyeballing different quantities.
0 Comments

Baguette (part 1)

9/12/2013

1 Comment

 
OK, this is going to be a short post... and no pictures, it's too embarrassing. Instead, I found pictures on the internet to try and make it clear. I found this recipe, promising a baguette in 30 minutes. Now, I was realistic, thinking, if I can do it in one hour, I'll be happy.
Picture
PictureThis is what I was expecting...
So I started this recipe. First flag: it called for very warm water mixed with sugar and yeast. I've always been taught and always read that water that is too warm kills the yeast. Also, that yeast touching sugar or salt before being activated is also killed. But, hey, I followed the recipe.

Next was adding the salt and flour. It called for 3-4 cups of flour until you get a soft dough that is not sticky. You know, it reminded me of my attempt at pretzels. I kept getting a dough that was soft, sticky in areas and then so dry in other areas that pieces were falling off. I used almost 5 cups of flour, so contrary to the pretzel attempt, I used more flour than called for. So at what point do you say "well, I guess I'll try now..."?
Picture
Picture
And then came the dreaded rolling. I don't know why I just cannot roll dough. Why doesn't it work? Anybody has ideas of suggestions? Is it the surface? Should I do something with the dough? With my hands? I used the technique shown up here and should have ended with something like what you see on the right.

Instead, I have two HEAVY and not completely baked "baguettes" that look horrible, or if I want to be generous, they look rustic, you know, with lots of flour on top... The crust is kinda crispy but the inside... And I left them in there for 25 minutes, when the recipe called for 15-18 minutes.

I am so disappointed, so if you know a recipe for a good baguette, please share in the comments. If you have suggestions to roll the dough, please share. I think I will see what result I get with my bread machine but I need to solve the rolling issue. THANKS!!! Well, I guess that's why I chose to call this blog "experiences"...
Picture
1 Comment

Country Bread

6/30/2013

0 Comments

 
Picture
After an experience that I found disappointing (Soft Pretzels), I needed to go back to the tried and true. This is a basic country bread I make regularly. Simple and yet, oh so good. I have now been making this bread for a few years and with me working part-time, I find more opportunities to make it. It is always a favorite with the family.

Eat it with butter and cheese, chocolate spread, jam... Toasted when it becomes a bit stale. And then as French toast when about 3 days old.

Picture
The dough coming out of the bread machine after the first rise and before kneading.
Picture
The dough after kneading. I cut my initial to allow for steam and expansion. It will rise another hour before baking.

Taking pictures

I looked up some advice about taking pictures of food. Focusing on the finished product (Hard to take many pictures in the best light and from the best angle when you're trying to hurry with the dough), what do you think? I tried to set it up in a simple but attractive manner. Comments?
0 Comments

    Enter your email address:

    Delivered by FeedBurner

    RSS Feed

    Table of Content

    Articles listed by date (available soon)

    Archives

    October 2014
    March 2014
    February 2014
    January 2014
    December 2013
    November 2013
    October 2013
    September 2013
    August 2013
    July 2013
    June 2013

    Categories

    All
    Almond Cream
    Apples
    Apple Sauce
    Banana
    Basic Cake
    Bread
    Brownies
    Cake
    Cannoli
    Caramel
    Chocolate
    Cinnamon
    Coconut
    Cookies
    Crepes
    Cupcakes
    Filling
    Frosting
    Fruit
    Icing
    Louisiana
    Madeleine
    Mardi Gras
    Meringue
    Mousse
    Muffins
    Orange
    Pastry Cream
    Pie
    Pop
    Pudding
    Puff Pastry
    Puff Pastry
    Savory
    Shortbread
    Specialty Bread
    Strawberry
    Sugar
    Tartlet
    Vanilla Cream
    Waffles
    Whip Cream
    Zucchini

    Author

    My name is Anne-Sophie and I've always enjoyed baking. I've decided to try and spend more time trying new recipes and would like to share the journey. I am particularly (but not exclusively) interested in French/Belgian recipes.


Powered by Create your own unique website with customizable templates.