Baking Experiences
  • Home
  • Gallery
  • Contact me

Mardi Gras King Cake

2/13/2014

7 Comments

 
Picture
This is a recipe I have been wanting to try forever! I lived in Louisiana for a few years and just loved this tradition, how people eat this cake all Mardi Gras season. It was a neat way to end the day on Fridays at the office. People in Louisiana are always very convivial and I've learnt so much about the various traditions (besides what people see on TV) of the Carnival season in Louisiana. So this is a salute to those whose friendship made these years fantastic!

The recipe I found was this one. I don't remember when I found it but apparently it comes from the February 2006 edition of Southern Living. Well, I can tell you I am incredibly happy with the end result, so this recipe goes into the family recipe book!
Picture
A couple of notes from this recipe, fortunately, nothing major ;-)
  • The recipe mentions that it yields 2 cakes of about 18 servings each. I'd say closer to 12-13.
  • Baking is 14-16 minutes, I baked 20 minutes because there was no color on top.
  • Prep time: 30 minutes -- it's a joke!
  • You are told to use a heavy-duty electric stand mixer. I don't have one (yet!!! It's on my wishlist), so I used my hand-held mixer. Let's just say the poor thing couldn't handle mixing the dough. I got that "something's burning" smell. I ended up doing it by hand (actually with both hands). Good work out!
  • Spreading the dough to a rectangle of 12 by 22 is hard. I'd say try 10 inches by 20. If you want everything to look neat, trim the rectangle to make it all even.
  • When spreading the filling (I did the cinnamon sugar filling), know which way you will start rolling the dough and don't put filling on the edge you will end the roll with. The bottom of the cakes were a bit hard. I think sugar escaped and caramelized, making for a hard shell.
  • You might want to do a better job than I did in sealing the edges together.
  • The icing is powdered sugar, with a little lemon juice and water. The first icing I did was a little too runny, so I made the other one thicker.
  • I used colored crystal sugar but my green was way too pale :-( Look for the Irish green sugar...
Picture

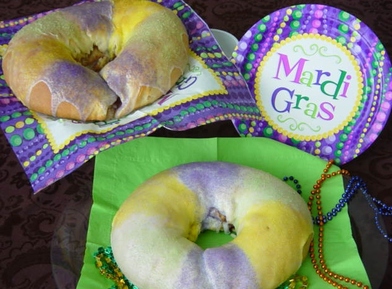
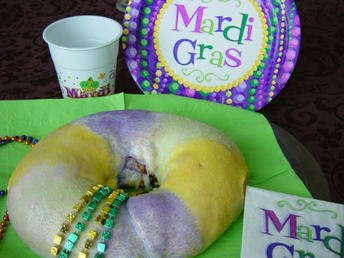
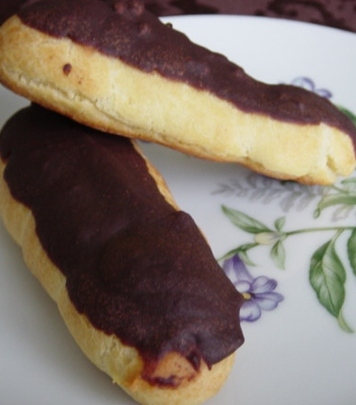
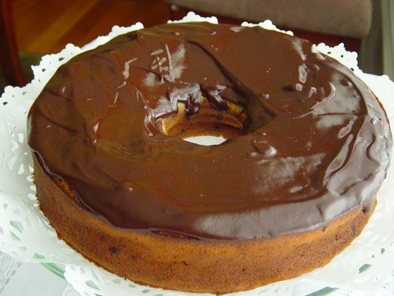
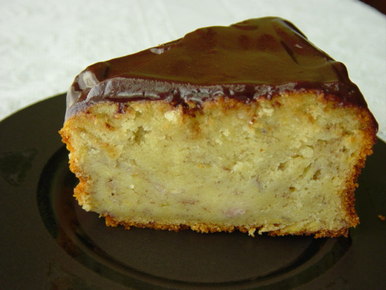
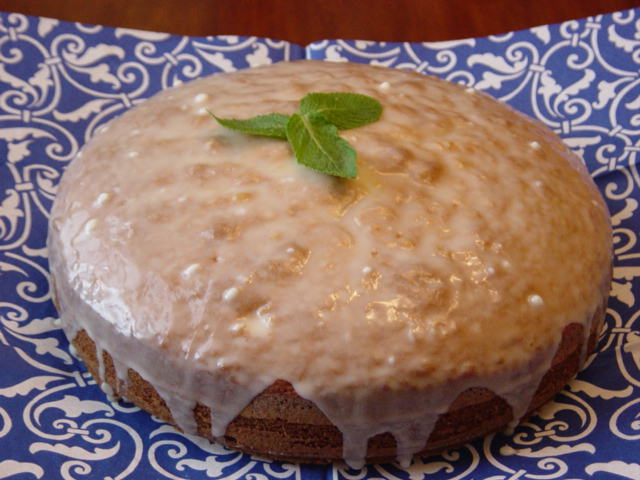
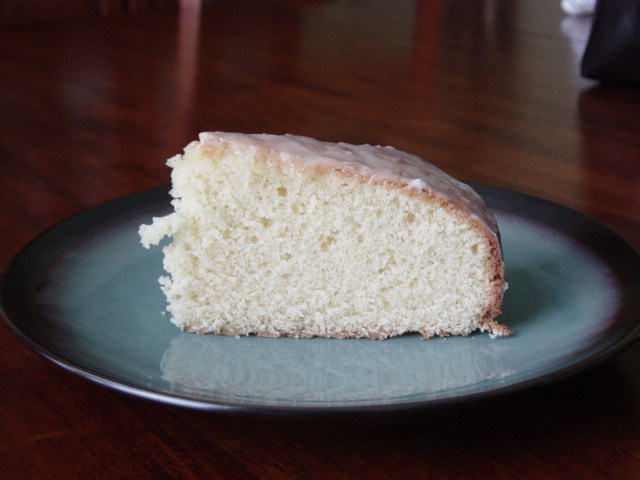
The result

A cake that is closer to a brioche than a typical cake. It is actually very close to a cinnamon bun. Delicious with coffee or hot chocolate.
Picture
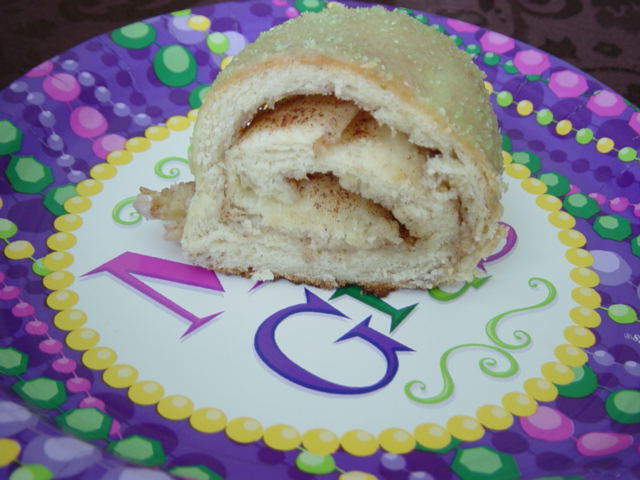
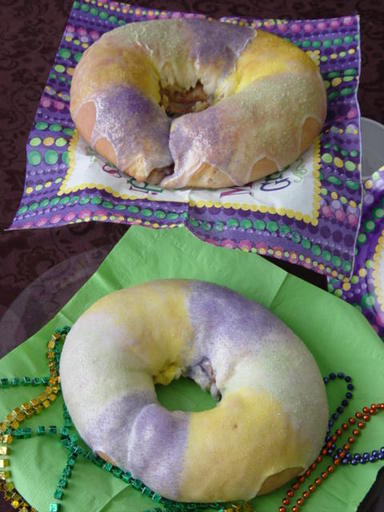
I am very happy with the result! And proud of myself too! :-D
7 Comments

Eclairs

2/6/2014

1 Comment

 
Picture
Last weekend's project was "eclairs". I needed to revisit the dough I used for the cream puffs AND the recipe for the vanilla cream used to stuff them.
I remembered some lessons, forgot others and will need to do this again to keep improving. Not that I seem to run out of people willing to try the desserts...
All in all, this week's experiments tasted really good, I just need to work more on the appearance side of things. I would say that my major fault here is my impatience. I just want to go too fast. What is frustrating is that I KNOW I am going too fast as I do it but I can't seem to slow myself down. This was particularly the case with the chocolate ganache in this case.

The eclairs recipe

For the eclairs, I used this recipe, it is a basic recipe, pretty easy to accomplish. That was not the issue. However, I'm always amazed at how hard it is to deal with oven temperatures and length of baking. See, this recipe is used to make little cream puffs, eclairs and many more other items. Everything is different, different sizes, different thickness, so the temperature and length of baking will be different for each one.
Now, as you are baking, it is not so hard to say "ok, a couple minutes more". What is hard though is to keep track of how you modify the time for the next time you want to do this. And I haven't even figured out how to play with the temperature. How do you know which temperature would be the best for your project?
Picture
One of the lessons I had learnt from making the cream puffs was that the size of the batter you put on the sheet does not change much when baking, it doesn't rise and double volume or anything close to that. So I made sure my eclairs were close to the size I wanted in my final product.

However, in my first batch, I poured the batter in a kind of rope and did a "folded" rope to ensure enough width. Well, the result was disappointing. The rope was not thick enough or high enough, which means those eclairs were flat. And the two parts of the rope did not mesh completely during baking, which gave me eclairs with a weird valley in the middle. This batch tasted good but looked horrible.

So for the second batch, I kept the pastry bag closer to the baking sheet and made sure to pour more batter. Frankly, I could have gone even further. I should have ended up with a sausage-like batter about one inch thick. The other thing is how hard it is to keep that pastry bag steady and pour the batter in a uniform way. I ended up with some funky shaped eclairs.

All in all, taste-wise, this was a success. Look-wise, well, there is still work to be done...

The cream

Picture
For the cream, I used the same recipe I used when I made the King Cake. The only mistake I made was once again due to my impatience. Small detail but it shows how important it is. I used the wrong measuring spoon to measure the vanilla extract and poured a bit too much of it.
The cream tasted good otherwise, however, I think I'm looking for something that has more firmness to it, more thickness.
Stuffing the eclairs was not easy, even if I used the smallest tip I had. I'm going to look into long and thing injectors or something like that. It is also really hard to know when to stop filling... because when it starts oozing out of the eclairs, it's too late...

The chocolate ganache

Picture
Technically, this was the easiest part, just melt chocolate and mix with some heavy cream. Once again, my impatience got the best of me and my chocolate was grainy and my ganache a bit too thick.

Now, I know why I was so impatient that day, it was the traditional day for crepes and I had guests over for crepes. Why did I start another project on the same day? Who knows but definitely not something to repeat. *embarrassed*


In the end, I'm glad to say I made eclairs. The taste was really good, so I know the recipes work, I just need to work on technique and appearance. and  PATIENCE!!!

There is hope!

What is your weakness when baking?
1 Comment

Halloween treats

11/4/2013

0 Comments

 
Picture
This past weekend was a heavy baking weekend. After the waffles of Friday night, I made Halloween treats for a friend’s Halloween party on Saturday (and brioche bread on Sunday). It was a lot of fun and a challenge for me... although I did bite more than I could chew, leading me to use *blush* shortcuts... However, I still managed to learn something.


I started with Halloween cookies. I used the same recipe as for the French-themed cookies I had made, but had more fun with the decorating. It was far from perfect, mind you, and my hands and arms were killing me by the end BUT it was fun. I really like that cookie recipe but will try and find other types of cookies that can be decorated. I used Halloween-themed cookie-cutters and tried to ice designs on the cookies. There is still more to learn, obviously, but Christmas is almost here with plenty of excuses to make cookies.
Picture
Very cartoonish looking. The features on the ghosts and skulls were made with toothpicks, which does not allow for precise lines. The features of the devils were made using edible marker but the surface of the icing was a bit too bumpy.
For the other treats, I used shortcuts, I admit it. I used boxed mixes for the cakes and really worked on the icing technique. The mini-muffins were pumpkin spice muffins and I made them into brains, following inspirations found online. The cupcakes were chocolate and again, I found inspiration online for mummy cupcakes. All in all, I don’t think they were too bad. I definitely need to work with the consistency of the icing to make it easier to pipe.
Brain mini-muffins
Mummy cupcakes
Tomb brownies
So, for the last couple days, I’ve been looking up online tips to improve my cookie/cupcake decorating techniques and will, hopefully, soon be able to apply them.
Picture
0 Comments

Sables au beurre (butter cookies)

9/6/2013

0 Comments

 
Picture
This week’s challenge: making a few dozen cookies on a French theme for a local event. I wanted to work with a French recipe, easy to make, but challenging me, of course.

So I chose “sablés”, which are dry cookies (sable = sand) that can be shaped by hand, with a knife or with a cookie cutter. The recipe is fairly simple and does allow for slight variations of taste (adding lemon juice, lemon zest, orange juice). The beauty of these cookies is that you can use your imagination in the decorating.

Recipe for the cookies

Picture
Ingredients:
  • 1 egg
  • 120g of sugar
  • 1 packet of vanilla sugar or 1 tsp of vanilla extract
  • 250g of flour
  • 125g of softened butter

Preparation:
  1. Mix in a large bowl: the egg, a pinch of salt, the sugar and the vanilla. Mix with a wooden spoon until pale and creamy.
  2. Add the flour then mix with your fingers until it looks/feels like sand.
  3. Add the butter and mix until you get a dough.
  4. Hit the dough by throwing it from hand to hand until you get an homogenous ball. If the dough is too fat or soft, add a bit of flour.
  5. Wrap the dough in saran wrap and let it rest in the fridge for 30 minutes.
  6. Put some flour on a flat surface and on your rolling pin, then spread the dough until ¼” thick.
  7. Cut your cookies, using a knife, cookie cutter or glass.
  8. Put the cookies on a cookie sheet covered with parchment paper.
  9. Bake in a 350 degree oven for 12-15 minutes (until the edges start to VERY SLIGHTLY brown.

By tripling the recipe, I got around 46 cookies (2 different shapes), counting the ones that were not fit for company. I ended up with 42 "useable" ones. Note that my cookies are fairly big (5" tall and 3" wide at their largest).

Read More
0 Comments

Banana Cake

8/22/2013

2 Comments

 
Picture
And once again, I had some bananas that needed using. It’s amazing! We love bananas but never can seem to eat them before they get to the point we don’t find them attractive anymore.

I didn’t want to make muffins again, so I went for a banana cake. Now, I had done this before, I had a recipe ready to use but decided to try something new. So, off I go, searching the net to find a recipe I could easily make with the ingredients I had on hand.

And I found this recipe. It seemed quite easy and the picture made it look good. I start reading the comments, because, well, you can learn a lot from comments... Of course, you can also get very confused. Some people loved this recipe, and found it foolproof. Some said it failed, fell, etc. Some people said the order of the ingredients was not important, others said you had to put them in the order listed. Some people said it was too sweet, they added more bananas, etc. The temperature of the oven and the baking time also seemed to be very different.

I have to say, I admire these people who try recipes and change quantities, ingredients, etc. I would be so afraid to do this, not knowing how the changes will affect the final product. But I guess this is also the point of these experiments, correct?

So, this banana cake came out delicious. I did need to bake it longer than the recipe called for. It did rise and then fall when I took it out of the oven. It is so moist that I can’t tell if it’s normal or not. BUT it tastes GOOD!!!! Especially with a chocolate icing...

Click on "Read More" for the recipes.

Picture

Read More
2 Comments

Scones and cream

7/28/2013

1 Comment

 
Picture
It's been a busy week with not much time to bake, unfortunately. So today, I decided to make a recipe I knew would be quick and delicious: scones and cream.
I used a recipe I found many years ago and I have to admit, although the end result is pretty good, I was so impatient this morning that I didn't follow the directions closely and it could have ended in disaster. Unfortunately, I am not experienced enough to be able to experiment and invent. However, as I said, the end result is pretty good, so maybe it is a fool-proof recipe.


Read More
1 Comment

Moroccan Orange Cake with Orange Icing

7/21/2013

2 Comments

 
Picture
Picture
I was cleaning up the kitchen and had three oranges that needed to be used before spoiling, so I searched for recipes that used orange juice and this is what I found.
This is a very simple cake but oh so good. It is light, with a very subtle taste (I didn't have the orange zest but it definitely can use it). It springs back when you cut it, it is moist. Definitely a success...

The cooking time was off, I had to bake it for 55 minutes instead of 40, but otherwise, everything worked. I looked for and found a recipe for icing using orange juice. I need to find a way to get all the lumps of sugar. If I hadn't been so impatient, I might have taken the time to sift the sugar and might have seen a difference. The recipe called for 1/2 cup juice but it's a lot of sugar.... and I didn't even get to the consistency mentioned (where you can spread the icing). I did add some orange extract to the icing and I think it is definitely something to do in the future as I'd need to use less liquid to have a thicker icing.

If it hadn't been an improvised project, I would have decorated with slices of orange in addition to mint leaves, or even mandarin orange slices. Something with a strong orange color. This cake could also handle a filling, I'd go for a soft and subtly orange cream or orange jam... Actually raspberry jam could work well with the orange.

I could see using this for petits-fours, cupcakes... The recipe called for a tube shape mold, so that could look great too.

Well, I'm very happy with the final result, I mean REALLY happy, it tastes so good!!!
2 Comments

    Enter your email address:

    Delivered by FeedBurner

    RSS Feed

    Table of Content

    Articles listed by date (available soon)

    Archives

    October 2014
    March 2014
    February 2014
    January 2014
    December 2013
    November 2013
    October 2013
    September 2013
    August 2013
    July 2013
    June 2013

    Categories

    All
    Almond Cream
    Apples
    Apple Sauce
    Banana
    Basic Cake
    Bread
    Brownies
    Cake
    Cannoli
    Caramel
    Chocolate
    Cinnamon
    Coconut
    Cookies
    Crepes
    Cupcakes
    Filling
    Frosting
    Fruit
    Icing
    Louisiana
    Madeleine
    Mardi Gras
    Meringue
    Mousse
    Muffins
    Orange
    Pastry Cream
    Pie
    Pop
    Pudding
    Puff Pastry
    Puff Pastry
    Savory
    Shortbread
    Specialty Bread
    Strawberry
    Sugar
    Tartlet
    Vanilla Cream
    Waffles
    Whip Cream
    Zucchini

    Author

    My name is Anne-Sophie and I've always enjoyed baking. I've decided to try and spend more time trying new recipes and would like to share the journey. I am particularly (but not exclusively) interested in French/Belgian recipes.


Powered by Create your own unique website with customizable templates.